Today marks the start of National Science and Engineering Week, and Healthcare Science Week [pdf]. There are many events running up and down the country, and I’m volunteering this coming Wednesday at the 11th Annual Schools Science Conference, which is being held at The Royal College Of Pathologists in London.
As part of this event, I’m going to be demonstrating how to dissect a gallbladder. But I won’t be dissecting any real ones – demonstrations involving scalpel blades and thick gloopy bile would prove very messy indeed! – So, no, I’ll be using balloons instead. I’ve just been spending my Saturday afternoon making 50 of them.
Here’s how…
First of all, let’s take a look at a real gallbladder:

A real gallbladder. The rough under surface is the area that used to be attached to the liver. The neck of the gallbladder has a clip that was put there after it was cut from the cystic duct.
Looks just like a balloon, I know. But to make my homemade gallbladder more realistic, I needed a whole load of other things, too:
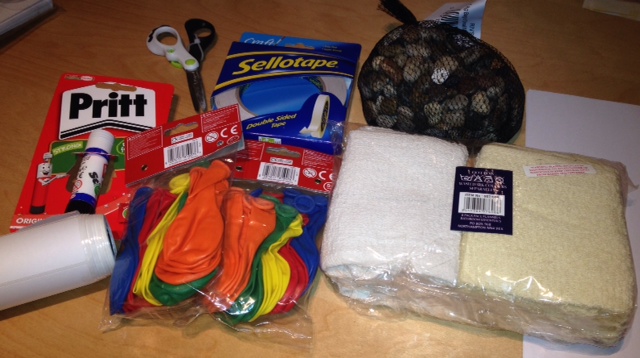
The supplies
Oh, and a colour printer to print out these:
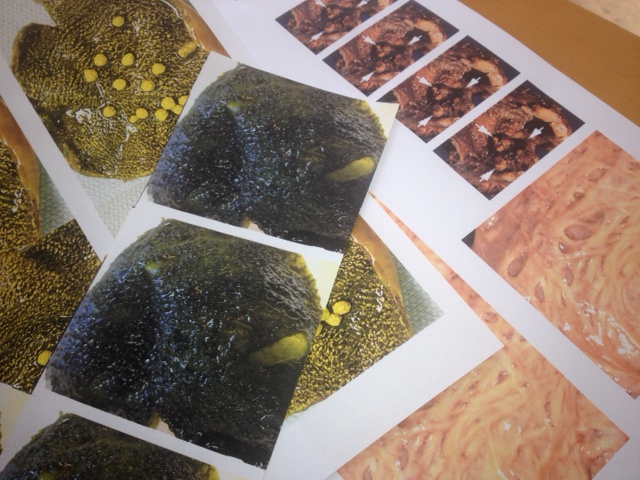
Printed examples of gallbladder mucosa
Then the messy part begins…
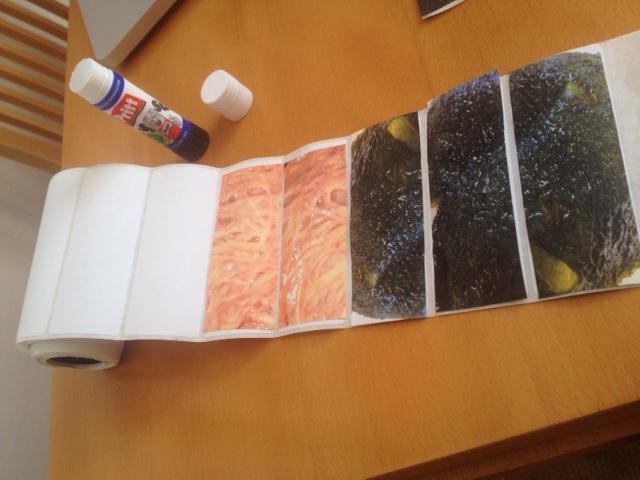
Cut out the mucosa and glue them onto sticky labels
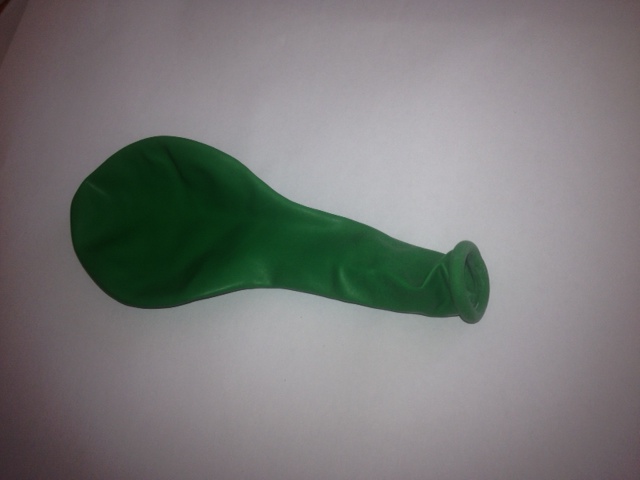
A balloon (obvs)
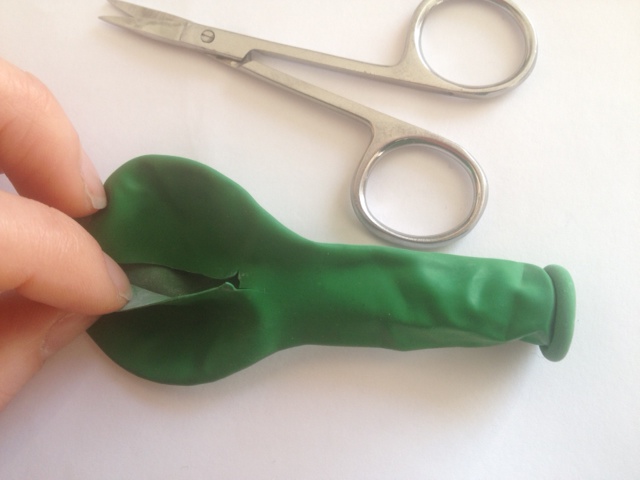
…into which a small incision is made.
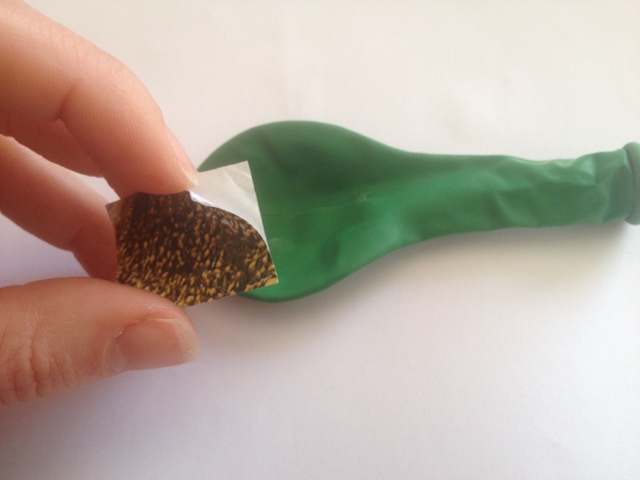
Cut a small square of printed mucosa, and peel off.
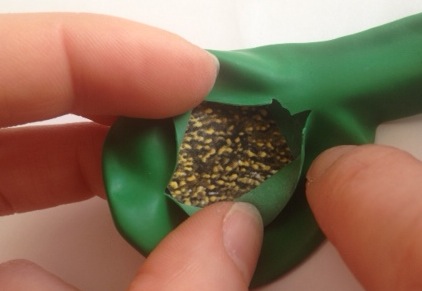
Stick the image inside the balloon.
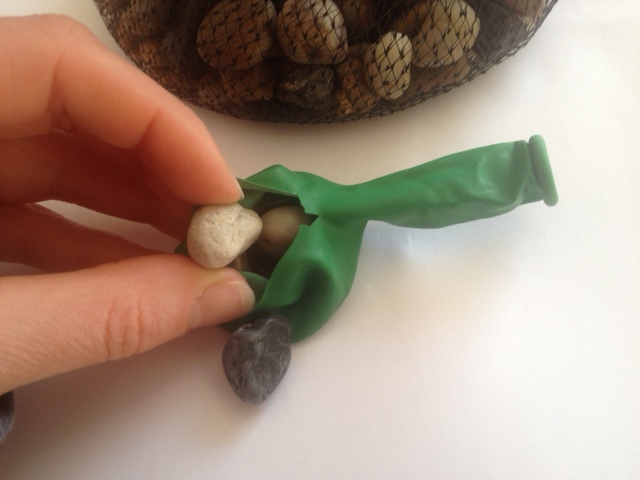
Add some small pebbles (to represent gallstones).

Using double-sided sticky tape, seal the incision.

Cut out a small strip from a face cloth…

…and stick it onto the sticky tape. This represents the rough surface resection margin.
et voilà… two hours later, and you have 50 of them!
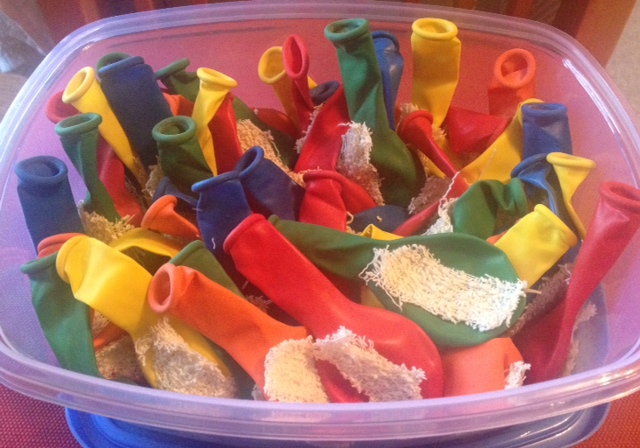
50 balloon gallbladders
Can’t wait to show the school kids now. I hope they’ll enjoy having a go at dissecting them, too.


Discussion
No comments yet.